Showing posts with label art piece. Show all posts

Sunday

2016 Business Resolutions


I can't say I was too sad to see 2015 go. I had started out in January like most people, excited about the prospects of a clean slate.  I wrote resolutions. Promised myself things would finally change. Well, change they certainly did, but not in the way I had intended them to. God had a different plan. Personally, my world was turned upside down. My life was significantly altered and all those "resolutions" I had penned in a small notebook at the beginning of the year, seemed far away, and almost childish.

But I'm glad to say, with Gods relentless help, I came through the other side and am now excited for the prospects of a year planned by God. That's the difference-it's how I approach it.

I know that God is in control and I'm going wherever he leads, BUT i also know it's important for me to take an active approach to my life as well, getting up and getting moving.  So, that's the direction I am headed in, onward & upward.  Just moving forward one step at a time and allowing God to direct my path.

That said, one of my steps forward is every Sunday i join my husband, (or soon to be husband on February 22, we are getting remarried after being divorced 14 years, lol, go figure, those are those "God has another plan" things I was talking about) in an "intentional work session". We go to Starbucks, grab a coffee (i get Hot chocolate) and we set up shop.  We work strictly on our businesses.  Coordinating schedules for the week, writing up estimates, writing this blog even.  Talk about dreams, goals and visions for what the plans are for the upcoming week, month, year and how we are moving forward business wise.  It started as a fluke but has now grown into a really rich time.  A time of focus and forward thinking.

So it is with that intension that I want to share the items I have done during the week.  If I have some creative ideas I want to share them.  As I keep moving forward with this, so does my business.  It puts things into perspective but also lets me see how far I have progressed.

Here we go.....

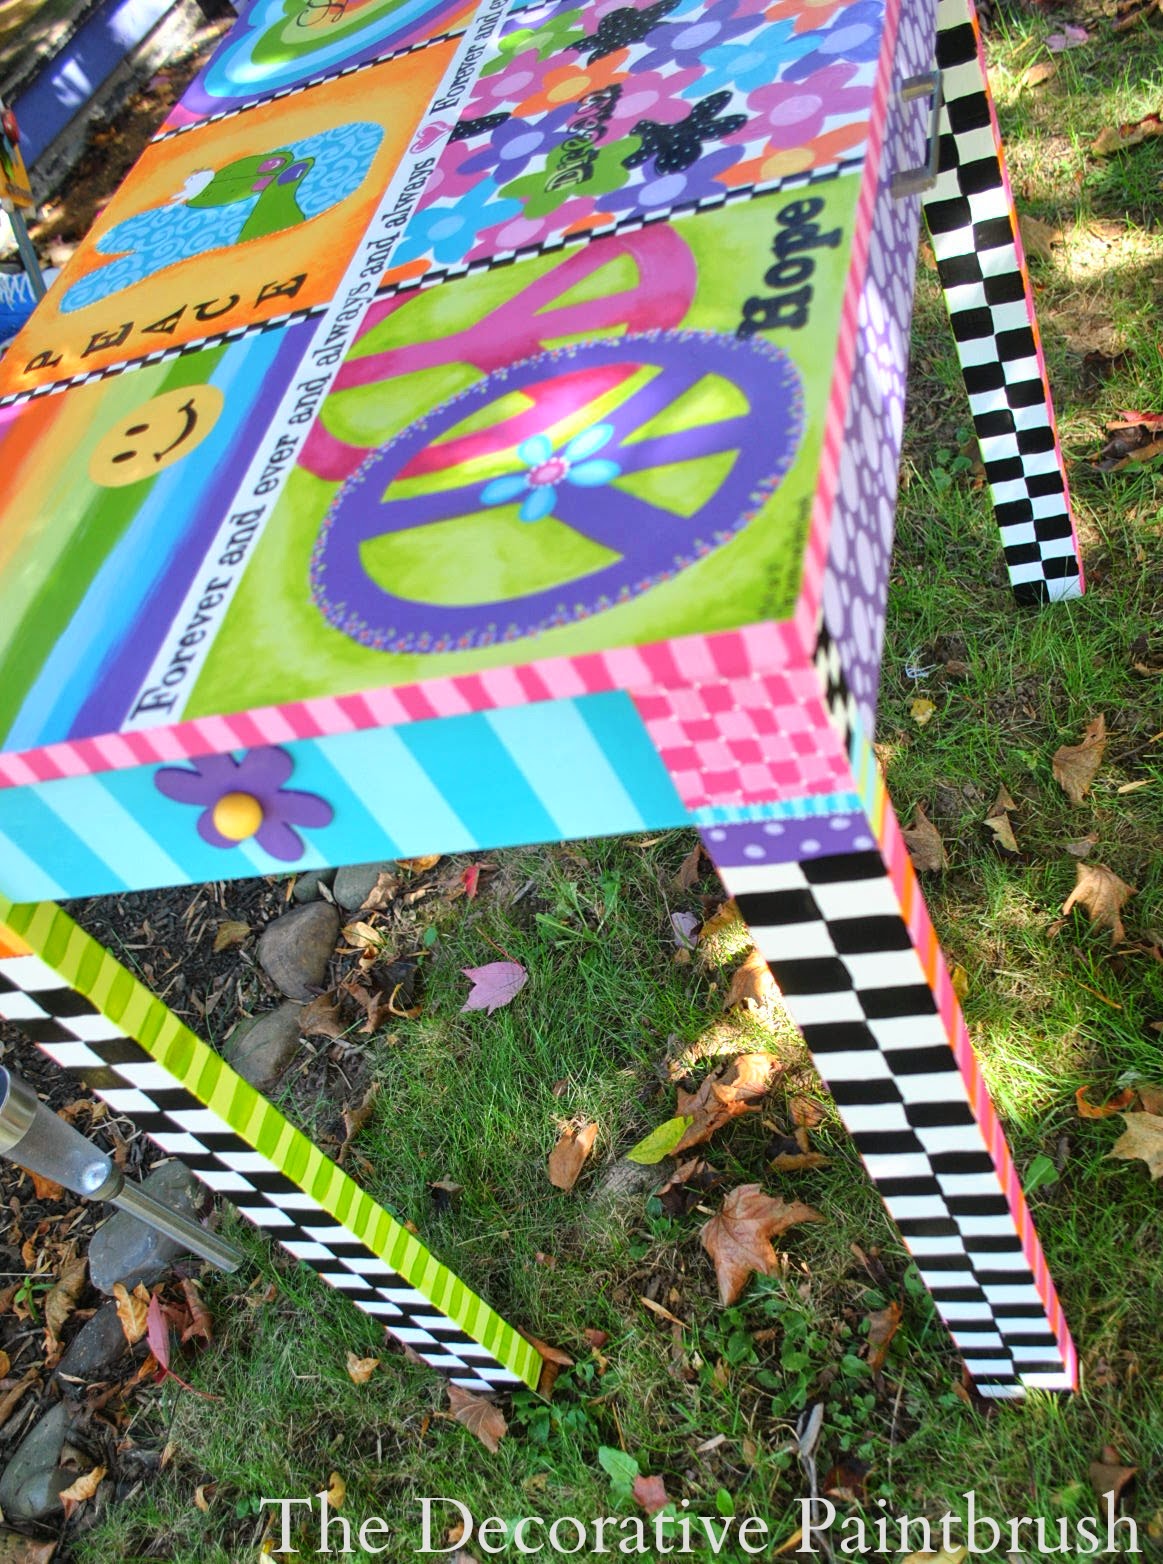
These are a couple items I finished this week:


I also painted and submitted two paintings that have since been approved and moved to our PaintNite library for purchase.  Magnificent Magnolia & Midnight Memories are the newest addition to my growing work in acrylics on canvas.


Come paint with me some night if you are in the Syracuse area! Go to Paintnite.com to find an event, use coupon code MARYM20 for $20 off and be prepared to relax and have fun!

I look forward to spending some time with you every week. Sharing some ideas I have percolating, projects I'd love feedback on and taking my business to the next level.  I am excited!

Please follow along on Facebook, Instagram, Pinterest or here!

happy creating!

Mary


Saturday

A Jazzed-Up Speaker's Podium


 Laura had seen me at the Syracuse Arts & Crafts Festival  and wrote  me a few weeks later to ask me about a really cool idea she had.

Laura is a high school English teacher and had a vision of creating a special space where her students could read their papers/speeches from.

She had gone online to price out a few stands and soon discovered that they were a lot of money for just wood.  Nothing stood out to her as unique or fun, so she thought perhaps we could build her something.  She has seen pictures of our dog food storage boxes and thought perhaps we could build something for her classroom.

With notebook & camera in hand we went to Home Depot to do some brainstorming.  After laying out many different projects/ideas in the isles, our design really started to take shape when we saw this column.  I wrote her with our final thoughts that night and by the next day we were back at the store finalizing our plan.

These were the items we left with.


We purchased the decorative colonial house beam first.  I loved the scoops and loops, rings and things and figured I could do a lot with it.  More so than just the fence beams we had originally thought of, and much more feminine that just building a box.  We knew we'd have to cut off a lot to make it the correct size but even with that, it still had more to offer design wise.


We then found these great pre-cut circles for only $5 a piece! What?! Can you say Jackpot! 

We also purchased L brackets, and bookshelf brackets to cover the L brackets after we connected the post to the base.

We also knew because the top circle would be at an angle there would need to be something that would keep the paper from sliding off.  We had tried a variety of trim pieces, but nothing seemed to go.  Then I had an epiphany-yes, right there in Home Depot!  I would use a Scrabble letter holder! Perfect, right?!


We measured the height and then made our cuts.


Then we secured the post to the base.


Then attached the pre painted shelf brackets to hide the hardware.

We then needed to attach the top.  Now, because this was going to be used by teenagers we knew we'd have to secure it pretty darn good. Which meant we'd have to screw it into the post as well as glue it.

The thing was I wasn't trilled with the idea of having screws in the center of my art piece and I wasn't excited about the prospect of covering them up with wood putty either.  There had to be something more...decorative.


Then I found these!  For just $2 at AC Moore I found my answer.  I would screw the disk into the post then cover it up with this applique-BEAUTIFUL!


After the center piece was secure, I then glued on the Scrabble letter holder and held it in place with painter's tape until it was dry.


I finished painting the piece and added Laura's chosen quote to the front.

"Go into the world and do well. But more importantly go into the world and do good."

This was the final piece. Front and back.


This was the first project we'd ever done like this and I have to say I was pretty pleased with the end result.  I'm hoping her students will love reading from it and perhaps it may take their minds off, if only for a minute, of the terrifying task of public speaking.

Here are the next two pieces on deck.  Can't wait to get started on them!


Sharing with these crafty blogs:


Friday

Hippie Love: Peace, Love & Dreaming


This desk sooooo needed a revival! Press board, generic, some assembly required...ya, you know the deal.  We've all had a desk like this at one point in time, so don't judge, lol!

This is the first piece of 6 that I am redoing for a customer, four of which are set to be  personally designed for her children-this desk being one of them.  The criteria for this piece.
  • Include the quote, "Forever and ever and always and always
  • The little girl is 9 so, fun, funky and bright!
  • Have it match her bedspread, in regards to color
Pretty simple, right?  She was very cool in giving me free range-LOVE THAT!  SO, I seized the opportunity (or in my case, paintbrush) and ran with it, wildly I might add (which has happened before hence the spilled paint in the next picture).


As always, I started with primer.  I know, you're asking yourself, "Mary, did you get any primer on the piece or is it just on the floor?"  "Well..." I would sheepishly reply, "Yes and no." 


As you can see I have cans of paint all over the place. Which is funny considering my last post was all about how "OCD" I am about my paints, but in my defense I often work on a couple of pieces at once. When I do, I leave the the colors out for easy access. 

Some days it's like I'm maneuvering through an obstacle course!  (Can I get an AMEN if you feel me!) So once, no maybe twice, okay, five times so far, I have tripped over cans and spilled the entire contents on to the floor. Have you ever spilled paint?  Your world suddenly goes into slow-mo. Like when you lock your keys in the car, shut the door and suddenly realized the keys are in the ignition??? Ya, that kinda slow-mo. You quickly scoop up the can, but can only watch as the paint s-l-o-w-l-y oozes everywhere! 

It was too big of a mess for Bounty, so, I put a fan on it and let it dry!  Now, I have large rubbery spots of crazy color all over my studio carpet.  I can hear the cringing from here, but no worries, it was a crappy carpet anyway.

After my piece was fully primed it was time to lay out the design.  I wasn't sure at first that I wanted to break the top into 6 separate sections, but as I starred at the blank, white "canvas" (which can be the most intimidating part of an art project) I just decided to go with a hippie"esq" theme.


One of the corners would be a rainbow background and to do that I had to blend the colors while they were still wet.  I didn't just want a block of color I wanted the stripes to fade into each other like a real rainbow.


After I laid down the base colors in each section, I went back into each square and put in more details.


Right down the center I ran the quote, "Forever and ever and always and always".  A sentiment her and her daughter share with each other often. I wanted it to be the focal point of the piece.


Each block has its own word; Laugh, Peace, Love, Hope, Dream & Family.  I felt that even though each square was a separate piece of art work, putting a word in each box would bring the pieces together, as well as stress the important things in life. 

AND....hippie drum roll please....This was the final piece.  

And YES, my hands are totally cramped from painting all those small little circles on the drawer and ALLLLLLL the black and white checks on the legs!  BUT, it was so worth it!  I'm thinking this 9 year old will have no problem doing her homework on this stylishly funky desk.  
What do you think? 


Now, I am off to start her next piece!  This beautifully antique chair that was made by her grandfather.  How awesome are the hand carved crowns and the raw carvings in the center of each one!  Beautiful. This will be transformed with whites, tans and various shades of pinks. A very soft & feminine piece.

 Stay tuned!


Again, ignore the paint on the floor, Hahahaha!